In the Montessori classroom, hands-on materials are essential for helping children develop a deep understanding of abstract concepts. One of the most effective tools for teaching children about quantity, number recognition, and counting is the number blocks material. These blocks provide a visual and tactile experience, allowing children to physically see and feel the value of numbers.
However, like many Montessori materials, it can be quite expensive. I found myself in a position where I wanted to use these blocks in my classroom but didn’t want to spend a significant amount of money on them. That’s when I decided to create my own DIY version, and it turned out to be a simple and budget-friendly solution. In this post, I’ll share why number blocks are so beneficial, how I created my own set, and how you can get your hands on them too.
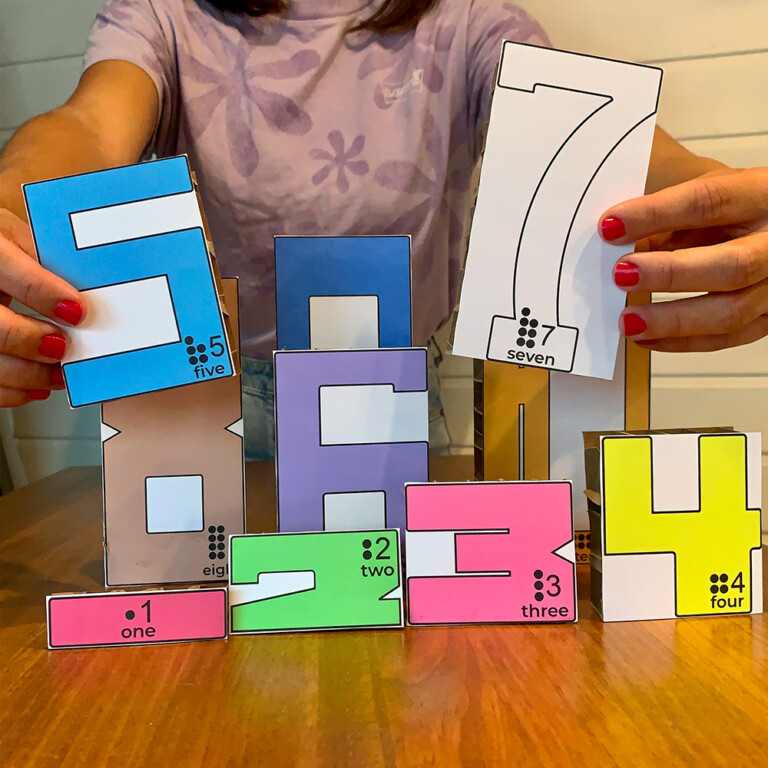
Number blocks are a versatile tool that can be used in a variety of ways to teach key mathematical concepts. First and foremost, they help children visually and physically connect the abstract idea of numbers with real quantities. Children can manipulate the blocks to see the difference between numbers, helping them understand the concept of more or less. This tactile approach also supports children’s development of fine motor skills as they handle the blocks.
Moreover, number blocks allow for endless opportunities to explore counting, addition, and subtraction. Children can stack or line up the blocks to represent different values, creating a strong foundation for more complex math operations later on. What makes them even more powerful is that they give children the independence to discover and learn these concepts at their own pace, aligning perfectly with the Montessori philosophy.
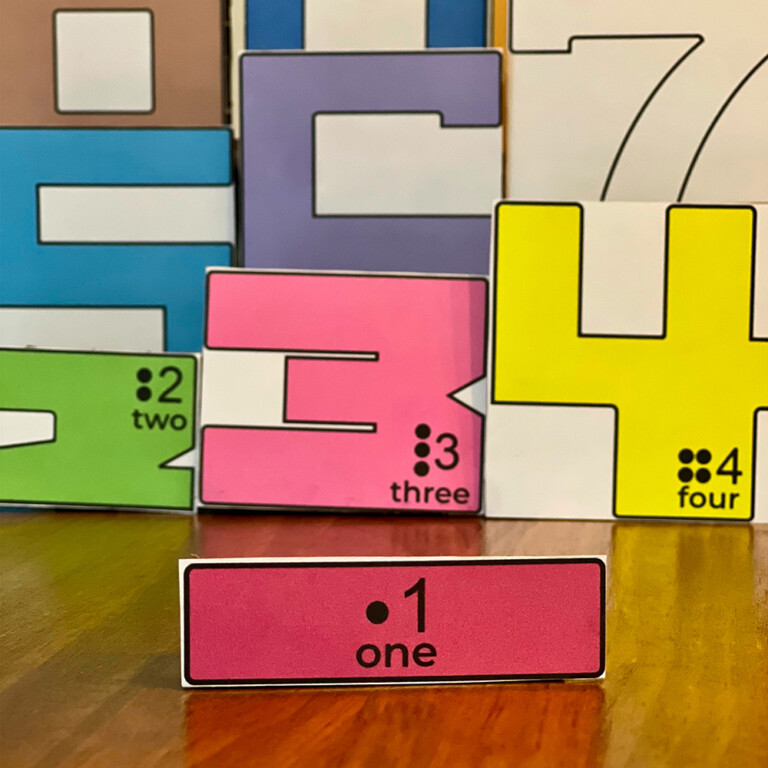
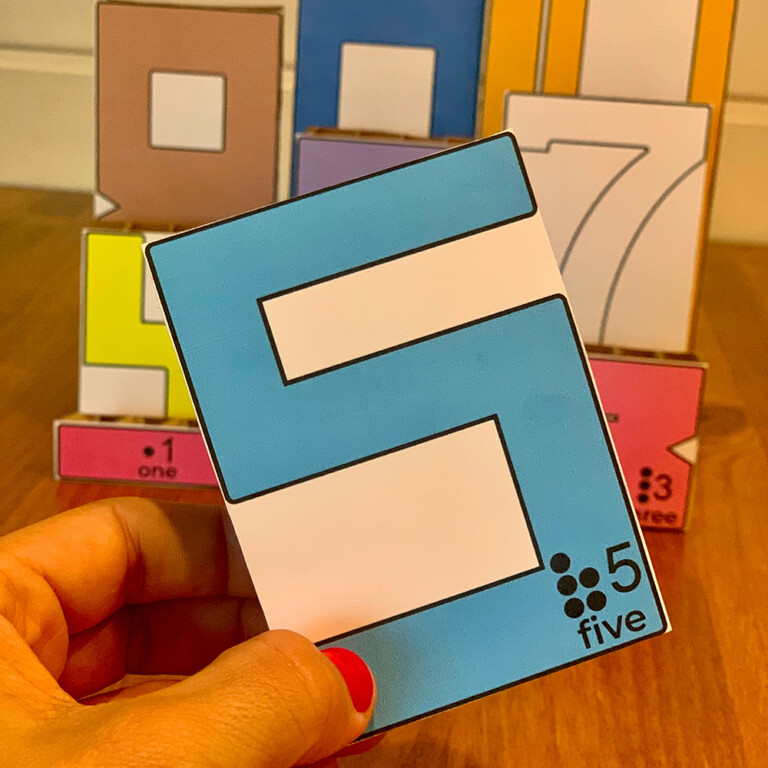
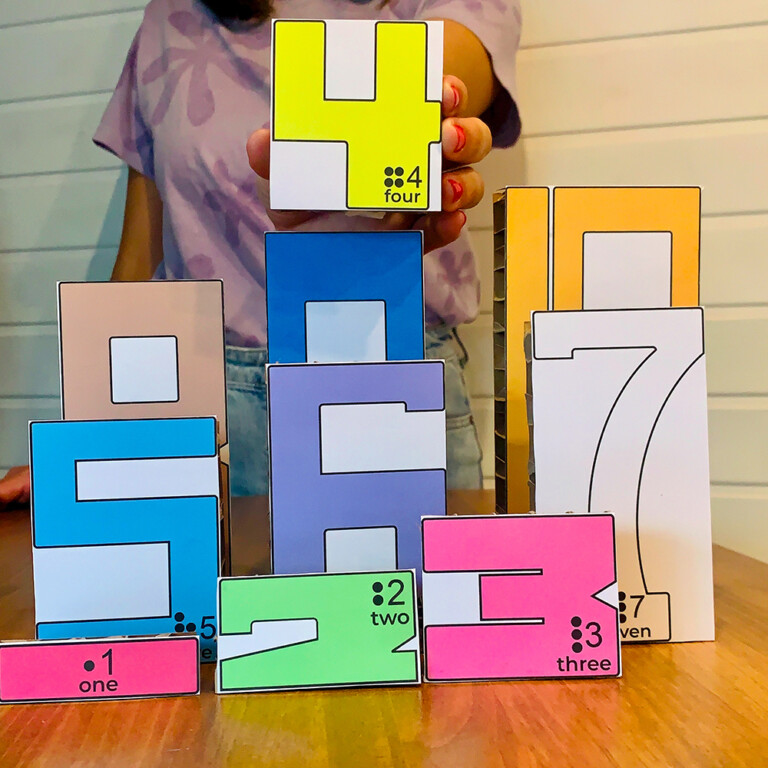
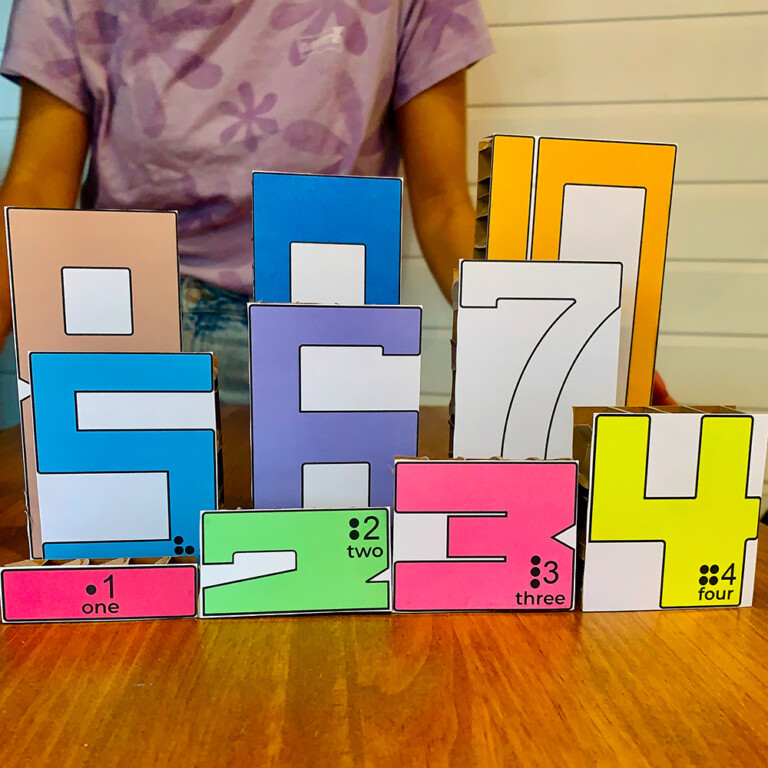
Creating my DIY number blocks was very easy. First, I designed the digital file, which you can download right here, following the same concept as the original number blocks. I designed the numbers using the same structure, and each number follows the same color pattern as the Montessori color beads. This makes the resource versatile, as it can be combined with both the original number blocks and the color beads.
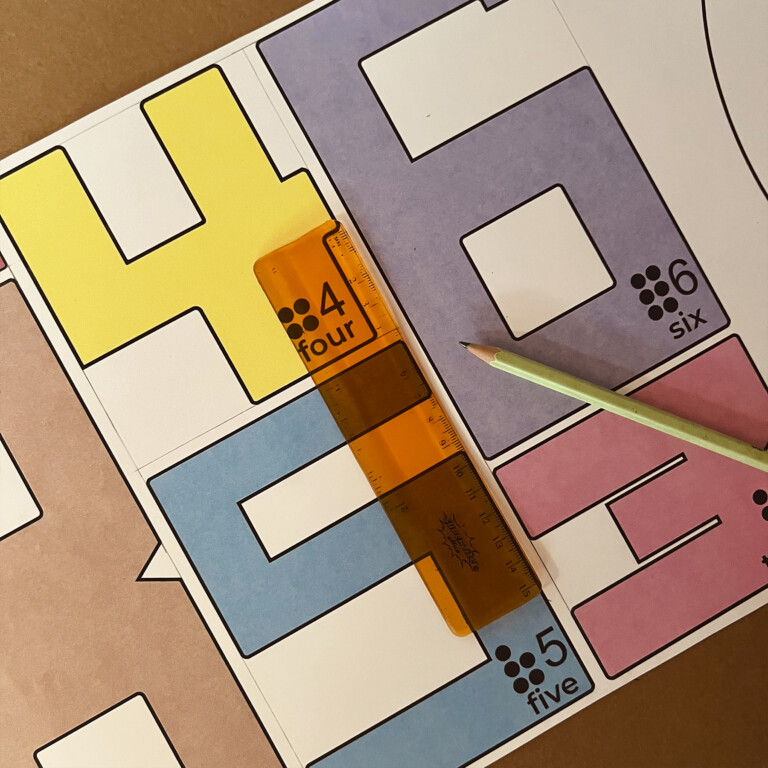
Once the material was printed, I moved on to creating the numbers by following these steps:
Use a cutter knife to carefully cut out the numbers one by one.
"At some given moment it happens that the child becomes deeply interested in a piece of work; we see it in the expression on his face, his intense concentration, the devotion to the exercise"
Now that you know all the benefits and different uses of number blocks, I imagine you’re eager to add this new resource to your math corner or space. As I mentioned earlier, you have two options to incorporate this material into your classroom. The first option is to purchase the original material online, which you can do by clicking here. The second option is to get my digital design and prepare the material yourself; I’ll leave the link for you here.