Ants are a fascinating insect, not only because they contribute to soil aeration, nutrient incorporation, and organic matter decomposition, but also because of their incredible work ethic. They dedicate their entire lives to the survival of their colony through teamwork. I find it captivating to teach our students about these remarkable insects, which is why I’ve designed a unit focused on ants and their unique characteristics.
If you, like me, are passionate about the Montessori methodology, its approach to teaching, and its learning environment, you’ll love working with my ants unit. The way I use my units with my students is very experiential—I bring real objects into the classroom so they can touch, observe, and explore them. This approach, which focuses on the child, encourages learning through experimentation and discovery. Next, I’ll explain how to use this unit with your students.
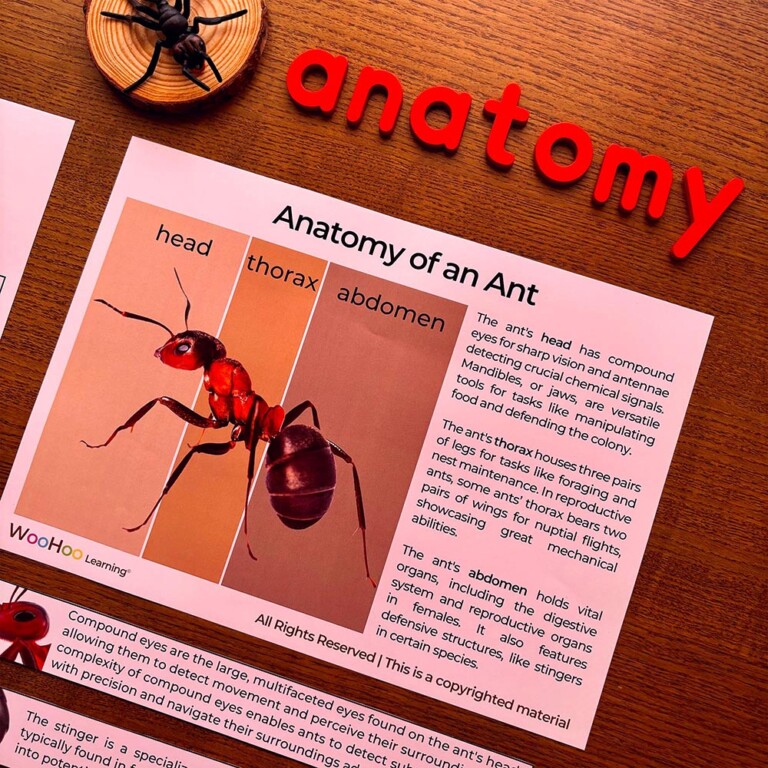
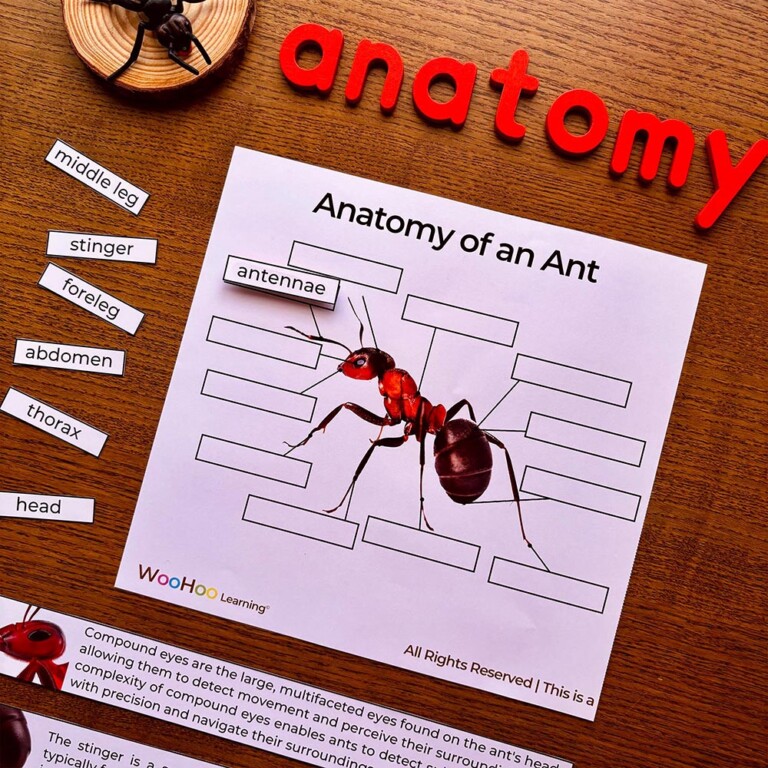
First, I recommend starting with the ants anatomy section. If possible, bring an ant toy figurine (or more) into your class so children can examine it up close—touch it, explore it, and engage with it. Before sharing any information, introduce the ant figurine with some guiding questions: “What are the particularities of ants?”, “Where do ants live?”, “What do they do to survive?”.
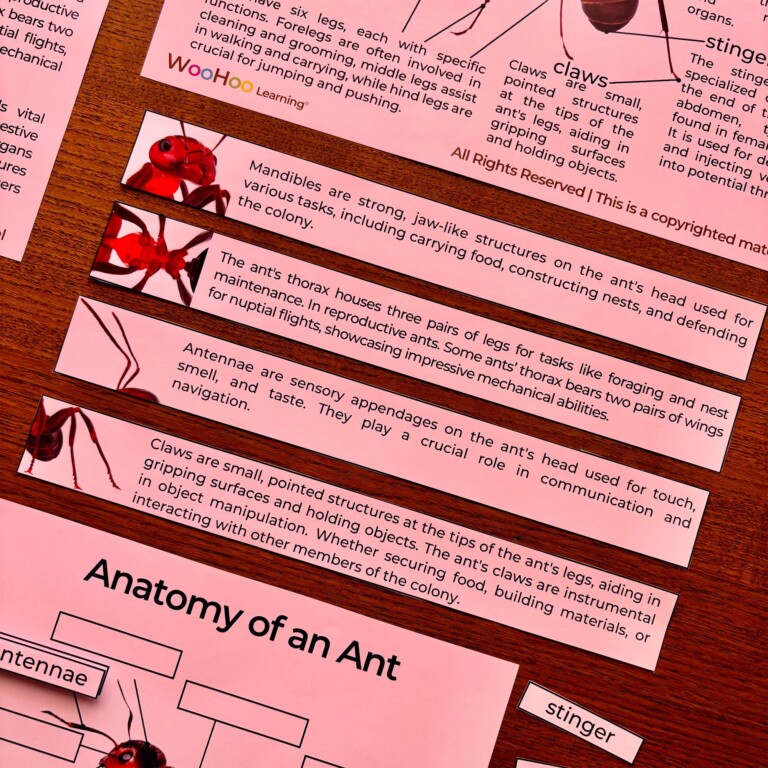
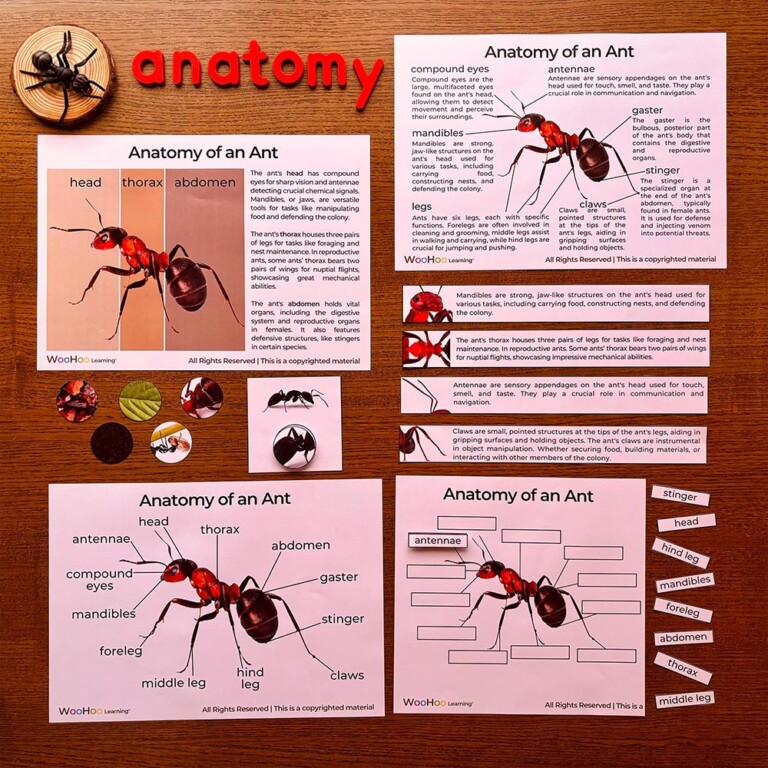
After the hands-on exploration of the ant figurine, you can move on to learning about the ant parts: head, compound eyes, mandibles, antennae, thorax, abdomen, gaster, claws, foreleg, middle leg, and hind leg. The labeled poster will be a great tool to introduce these parts. Then, you can use the 3-part cards to help students work on vocabulary and specific definitions.
"At some given moment it happens that the child becomes deeply interested in a piece of work; we see it in the expression on his face, his intense concentration, the devotion to the exercise"
The Discovery of the Child, Maria Montessori
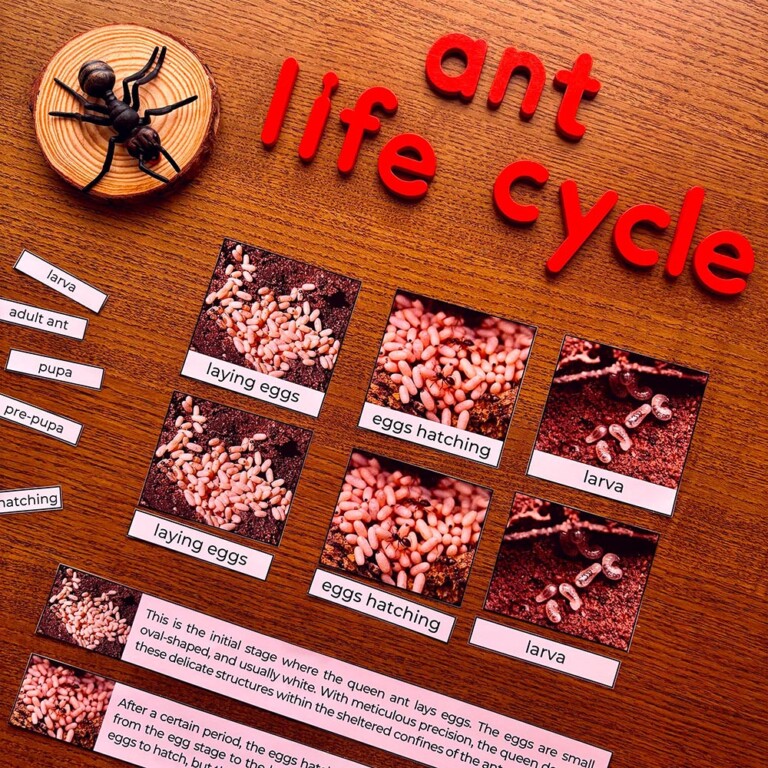
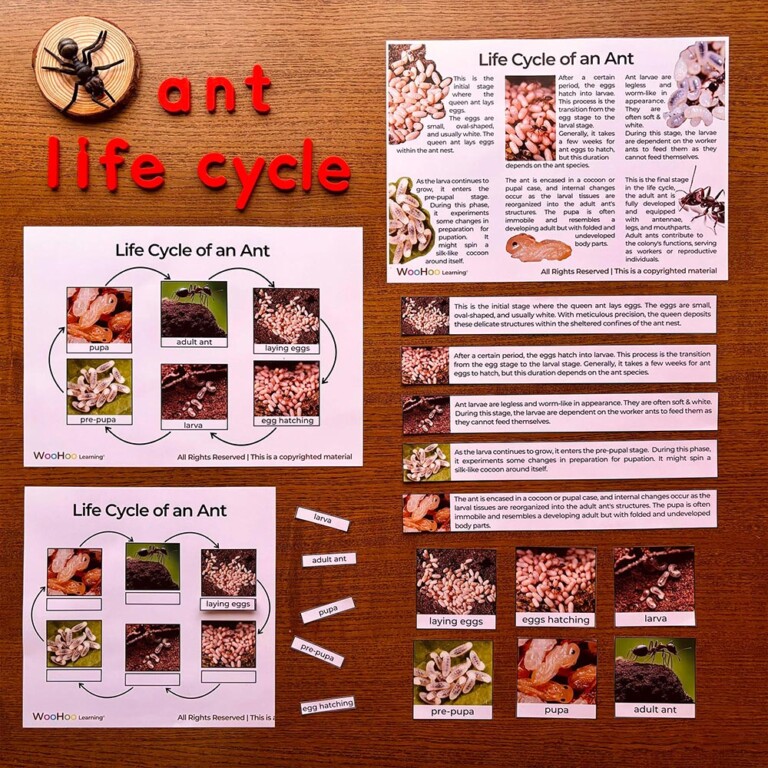
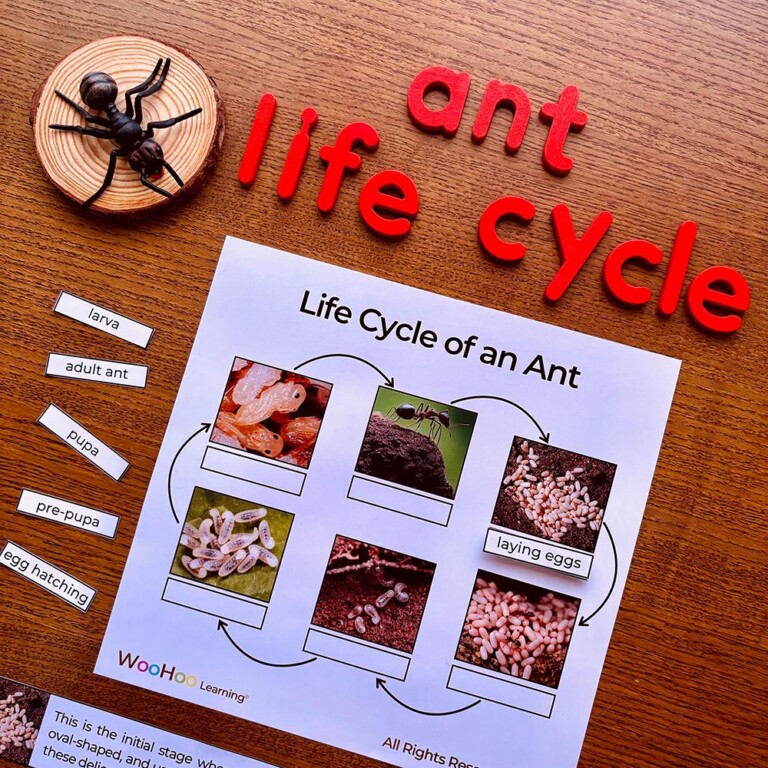
Once the children are familiar with the ant and its anatomy, it’s time to delve into the life cycle of the ant. You can start this section by asking questions like, “How do ants grow?”, “How do ants reproduce?”, “Do you think they hatch from eggs?”. These questions will help students prepare to learn about the six stages of the ants life cycle: laying eggs, egg hatching, larva, pre-pupa, pupa, and adult ant. To support this learning, you can use the definition cards, the 3-part cards, and the 4-part cards with definitions.
Here are some of the elements I’ve used to accompany this unit and their purchase links, in case you’re interested:
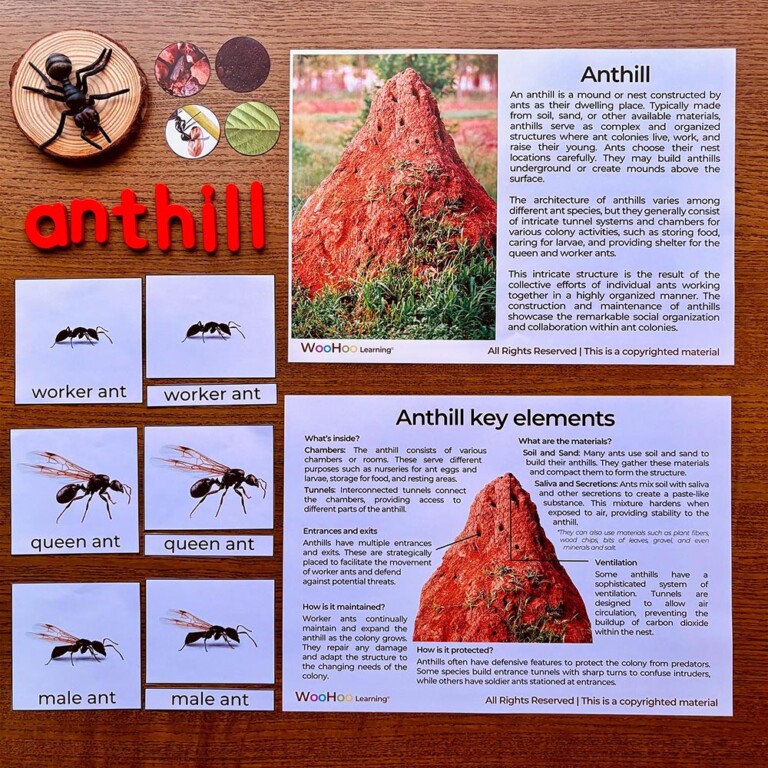
After understanding the anatomy and life cycle of the ant, the children will be ready to learn about the place where they live: the anthill. As always, I suggest starting with some thought-provoking questions: “Do you have any idea where ants live?”, “How do you imagine an anthill looks inside?”, “Do you know how they organize themselves to work?”.
Once our students have learned about the anatomy of the ant, the life cycle of the ant, and the anthills, we can move on to activities included in the unit or explore more about this insect.
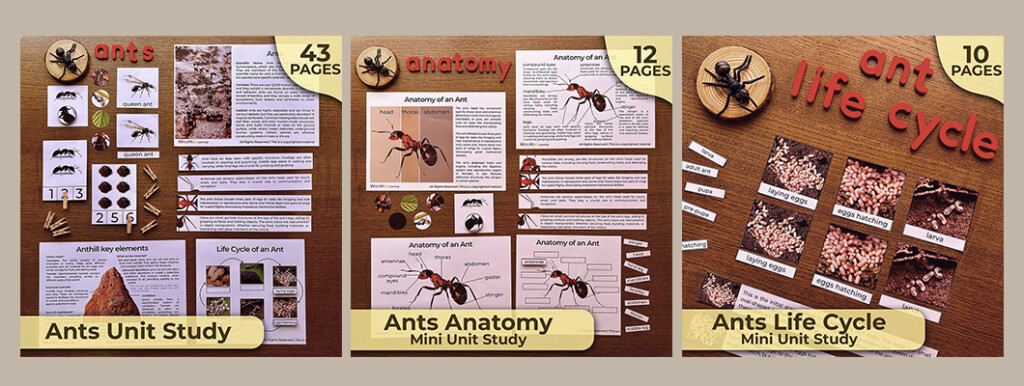
If you’re interested in purchasing my ants unit study, you can find direct access to it below. If you only want a part of the unit, don’t worry, that’s also possible. In total, there are 3 different units available: the complete ants unit, the ants life cycle unit, and the ants anatomy unit.
The complete ants unit consists of 43 pages and contains all kinds of information about ants, including a color pantone, anthills, interesting facts, life cycle, anatomy, and different kind of ants. The ants anatomy unit has 12 pages and includes posters, 3-part cards, vocabulary cards, and activities. Finally, the ants life cycle unit has 10 pages and includes posters, 3-part cards, vocabulary cards, and activities.
*If you feel more comfortable making your purchase on well-known platforms, you can also find my products on other e-commerce sites. Here are the links to my Etsy store and my Teachers Pay Teachers store.
